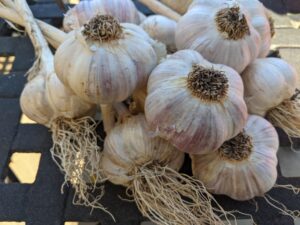
Planting Garlic
You can't beat locally-grown garlic! Better yet, grow your own! Just plant and forget about them. Before you know it, you'll harvest your own powerhouse of flavour and nutrients! In Southern Ontario, plant between early October and late November, giving the garlic a chance to develop a strong root system but late enough that it doesn't begin to sprout before frost. Should your garlic sprout in November, don't worry. A metaphor for endurance, the garlic will rebound in the spring. Remember that each clove will grow into a bulb of many cloves!
Prep Time0 minutes mins
Active Time0 minutes mins
Preparing Soil and Planting30 minutes mins
Total Time30 minutes mins
Cuisine: Italian
Instructions
Prepare the Soil
- It is preferable to select a corner of your garden that gets full sun and has well-drained, loose, sandy soil. Use a rototiller or simply dig up the soil to create a loose and fluffy patch.
- You may have soil that is high in clay or silt and sand. Regardless, you can add compost which will improve the soil condition. Consider adding two inches(five cm) of manure or other composted material. (Optional)
- Gently crack the bulb by breaking the outer skin on the bulb to release the individual cloves. Do not damage or bruise the cloves when trying to release them from the base. Do this as close to planting time as possible. Leave as much of the papery skin on each clove as possible. If the "wrapper" comes off, it should be fine to still plant.
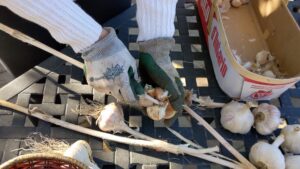
- Dig holes, one for each clove, about 3 or 4 inches deep and 1" across, and about 6" from each other. It's easiest to use the back end of a broom or garden tool like a trowel. Try to plant in straight even rows.
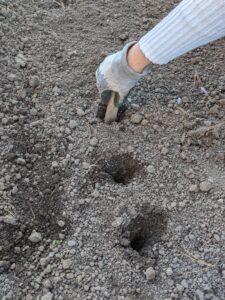
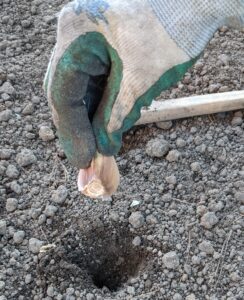
- Place a clove in each hole, flat part down and pointed end up. Cover with soil.
- Depending on where you planted, make a reminder for yourself where you planted. Keep pets away from this area as garlic is toxic for them.
- In the spring, try to keep ahead of the weeds that may entangle themselves in the young sprouts.
- The cloves will sprout a scape in the centre of the leaf sheaths in the spring. It should be removed to promote a large size bulb. Grab hold of the scape close to its base and pull it out or break it off right after they have curled and before they straighten out.
- When the plant is mature, many of the leaf sheaths that were first green have now turned brown and started to decay. Dig up a bulb or two to check the size and appearance. Leaving the bulbs in the ground too long will increase risk of damage to the bulb. Remember that the bulb is straight down from the main stalk so be careful to not damage them as you are lifting them up.
- Brush off loose dirt and pull off dead leaves. If you have damaged any bulbs, use those cloves right away for cooking. Otherwise, hung to dry or lay flat on a screen to allow good air flow for curing. They should be in a dry, shaded and well-ventilated location for 2 to 3 weeks.
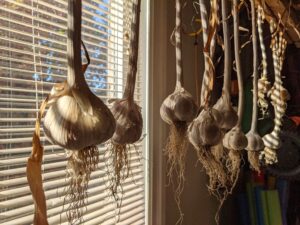
- Once the curing is complete, trim the roots and the stem. Store in a cool dry location but not in the refrigerator. The bulbs may keep for up to a year. As you. need garlic, start with the bulbs that have exposed cloves first.
